Thank you for choosing our School Management Software!
We're honored to support your institution and are committed to helping your streamline operations and enhance educational excellence.
Welcome aboard!
In this article we'll explore the software and will know how can we setup our school in the software(web apps). But, before doing anything we'll require these following things.
- Web Browser (Google Chrome : Recommended)
- School URL(Universal Resource Locator)
- User Credentials
- Username
- Password
Before moving ahead I want to tell you something, is that: We'll divide our task into multiple chunks so that we can understand it easily.
Lets Start!
How to Login
- Open Google Chrome.
- Type the URL in the browser's address bar and press enter.
- This will open your School Management App in the browser as given below. Here you'll see your basic school info and Of course! the Login page. You just need to enter your credentials and hit login button.

Understanding User Interface
After Logging successfully! you'll see the dashboard of the software given below.

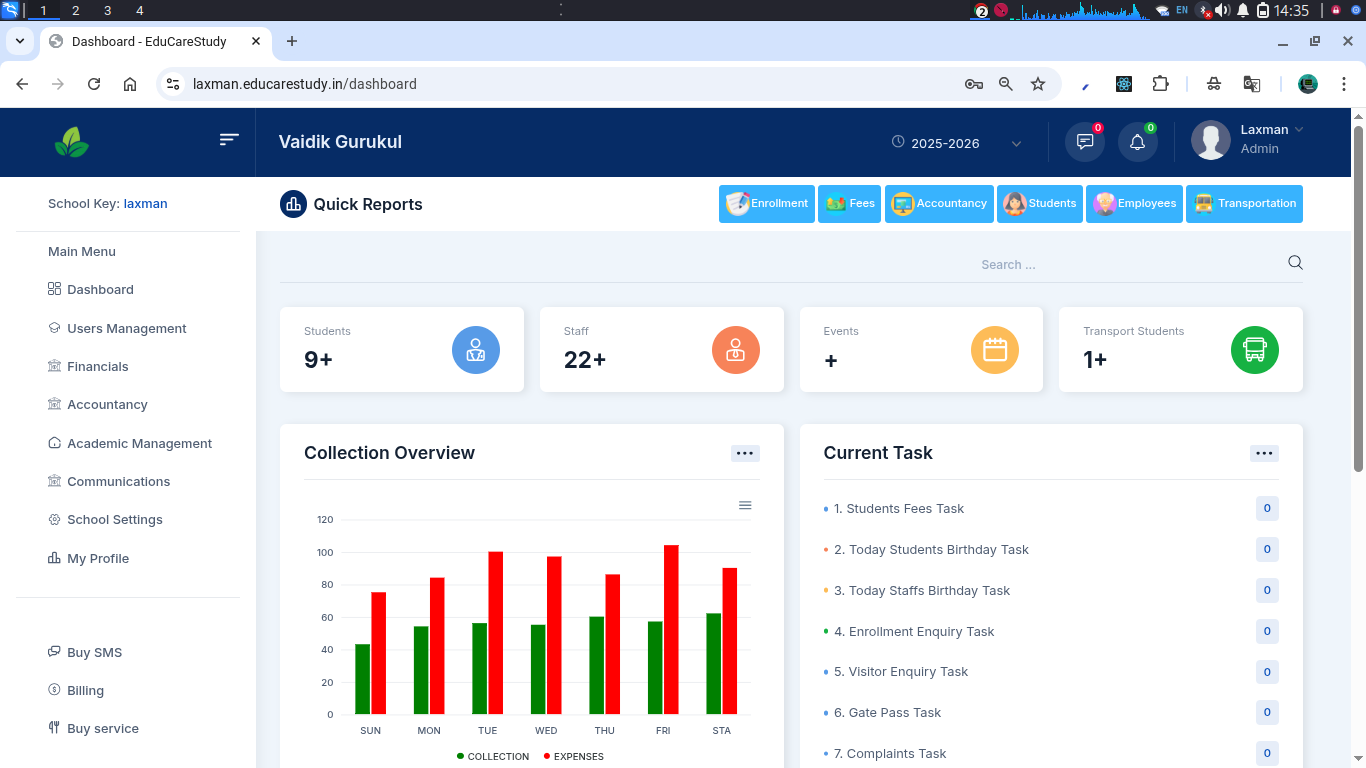
It is obvious that your dashboard may not look like the same as mine because I have already done some configurations in my software. But, You don't need to worry about that. I'm with you. Lets begin with this.
First of all lets understand the UI (User Interface of the software) so that we can have a basic information about where all the things are placed and whenever we required something we can easily access it.
Just understand how the things are structured.
- The School Logo : Once we upload the image and click on that it will redirect to the dashboard
![]()
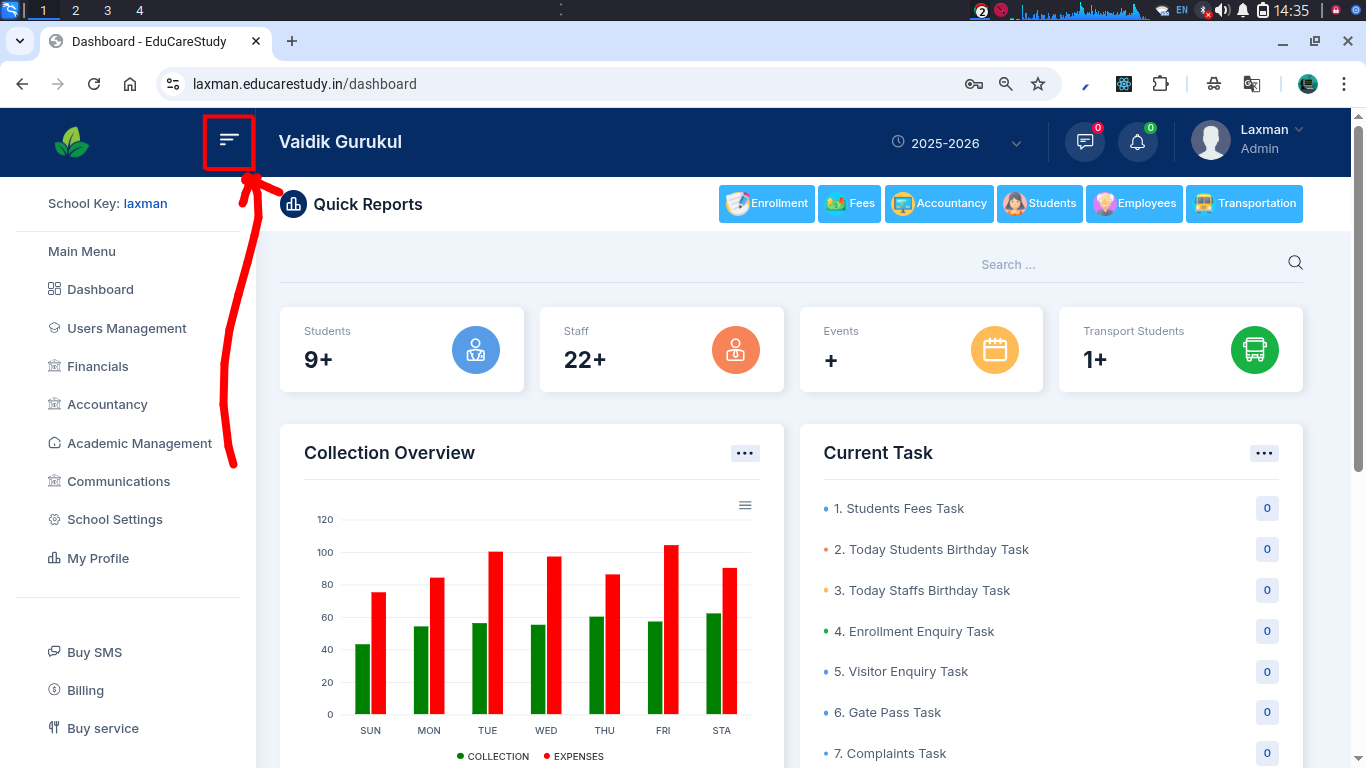
- Menu : It will Hide/Display all the menu options.
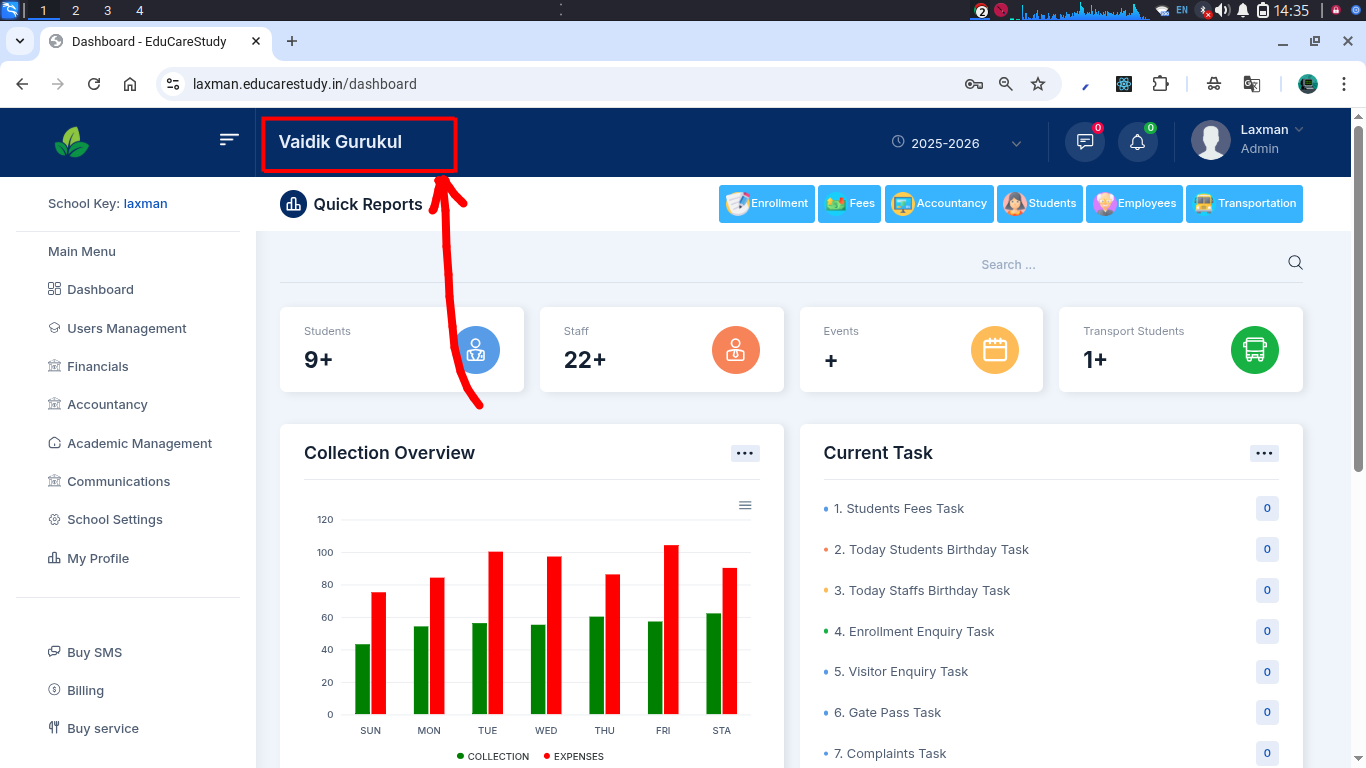
- School Name : Here you'll see your school name. Don't worry we'll configure all these things later.
- Session Manager : You can change academic session from there.

- Notifications : Whenever you receive a notification it will inform you in the form of numbers.

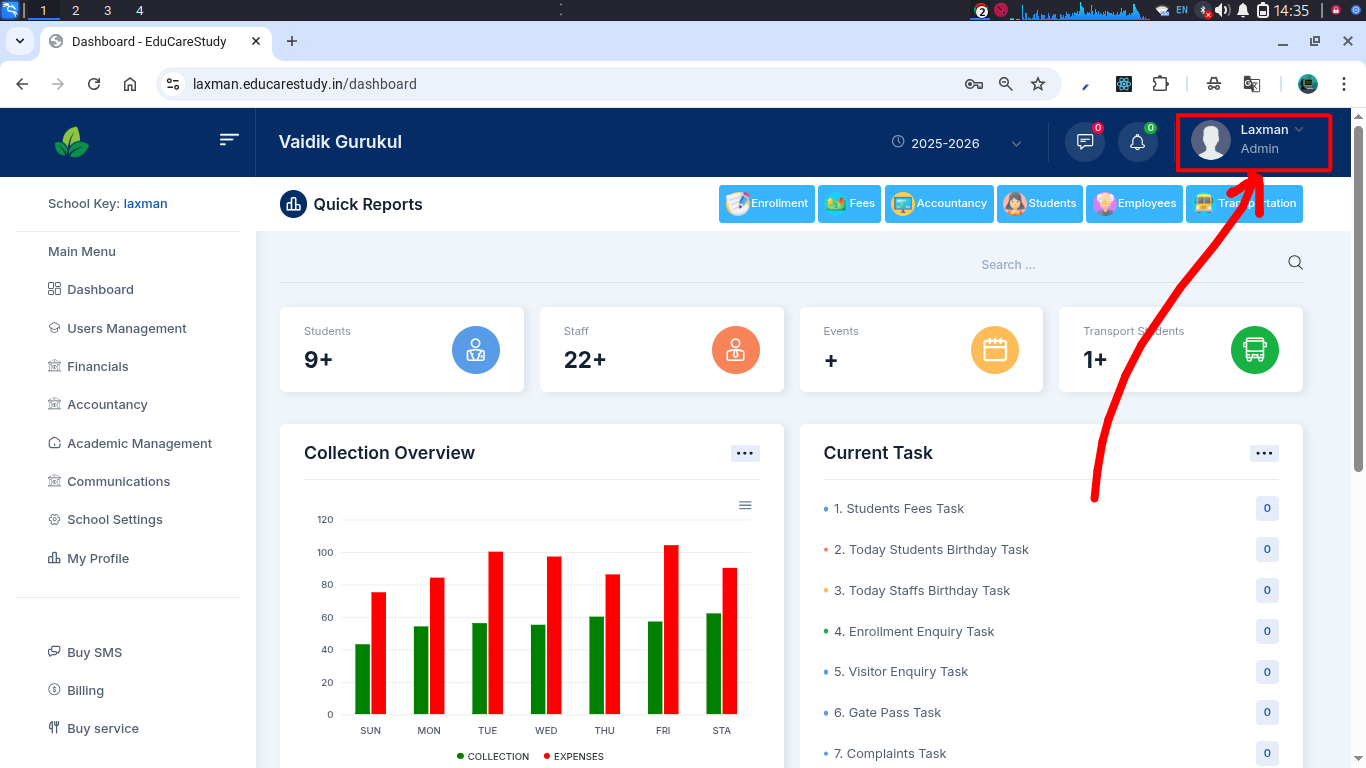
- User Details : This states who is logged in, in the system. You can also edit your personal details from there.
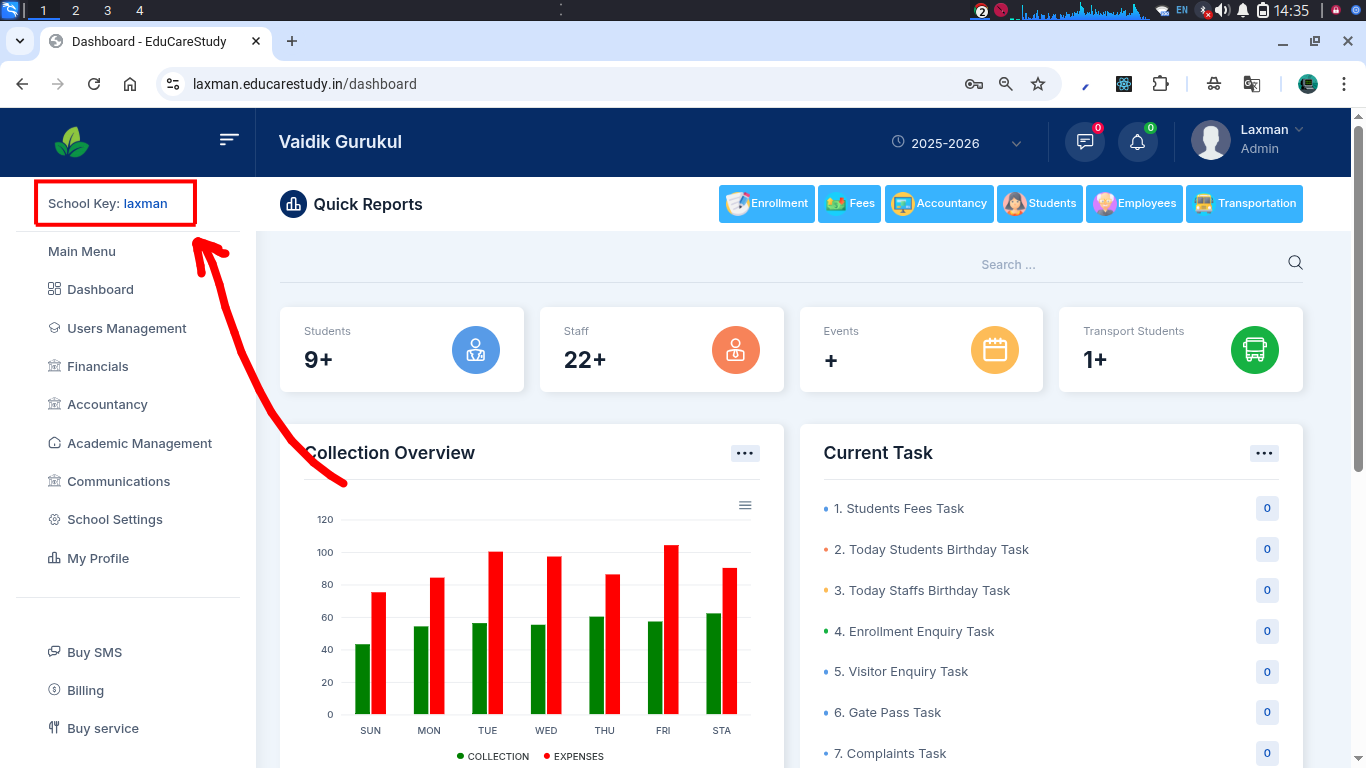
- School Key : Here you can see your school key. It will be asked while logging into the mobile app from both Parent & School Staff/Admin.
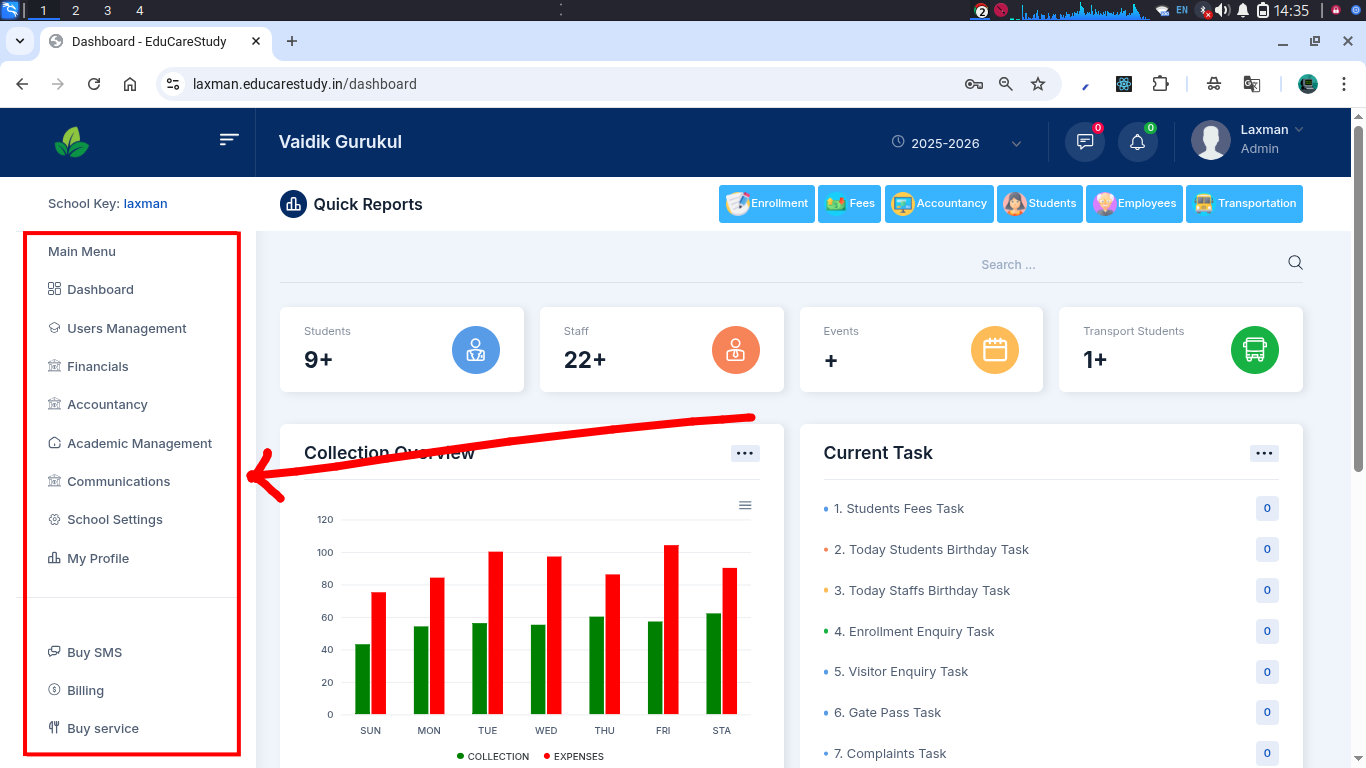
- Main Menus : This is the main menu where you can have multiple sub-menus inside it. Think of it as a Parent and there will be multiple Child Modules which does a particular task for you.
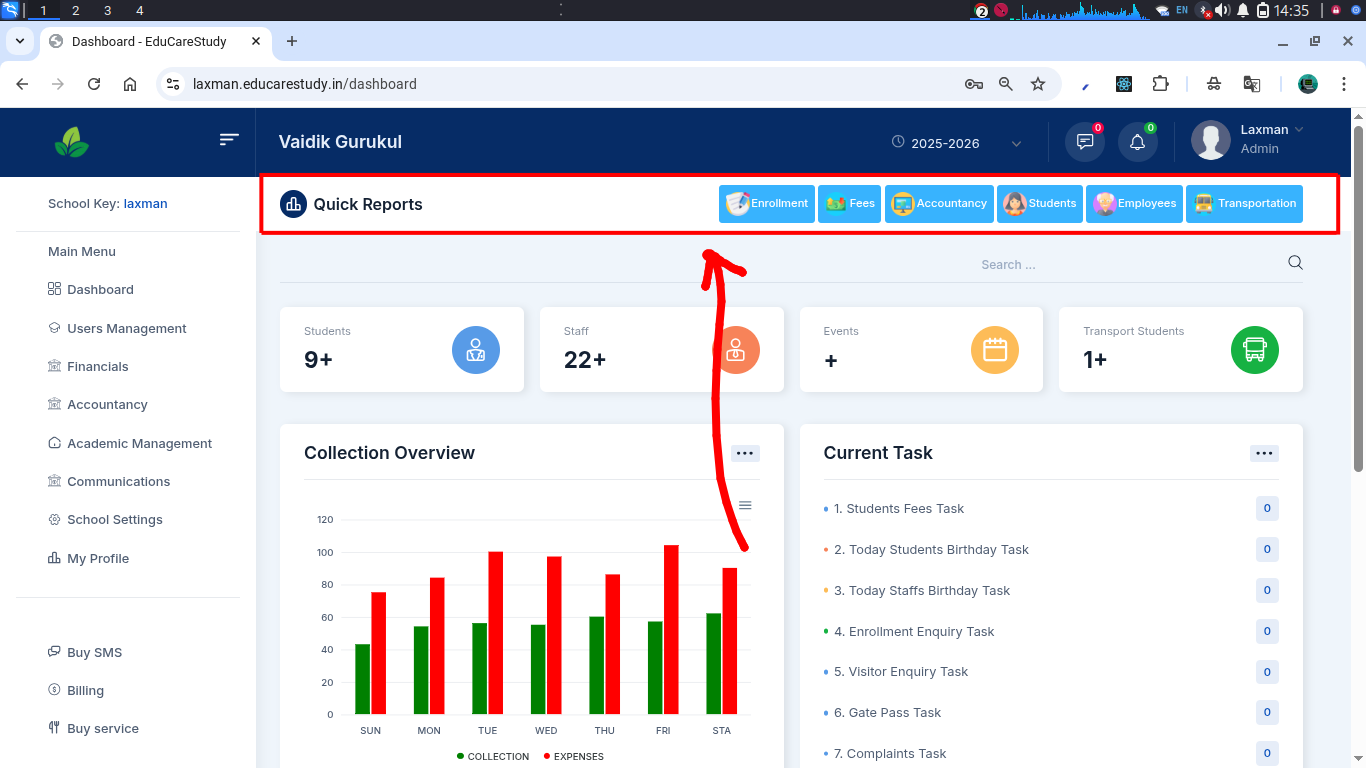
- Quick Reports : We have extracted some frequently usable modules so that you don't need to go inside a parent module again & again. Like: If you want to do anything related to students, you just have to open the Student Module. If you want to do anything related to fees, you just need to open the Fee Module and so on.
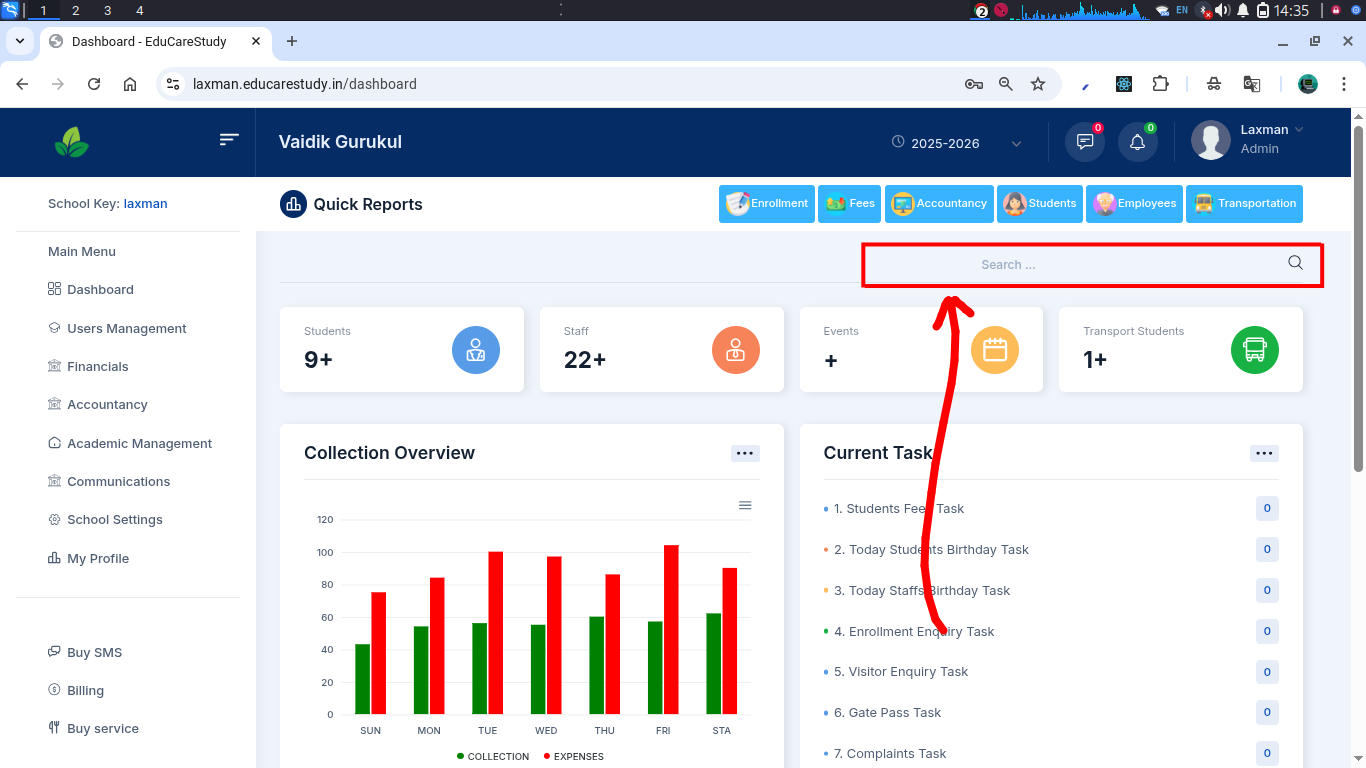
- Search Buttons : Here you can directly search any particular module.
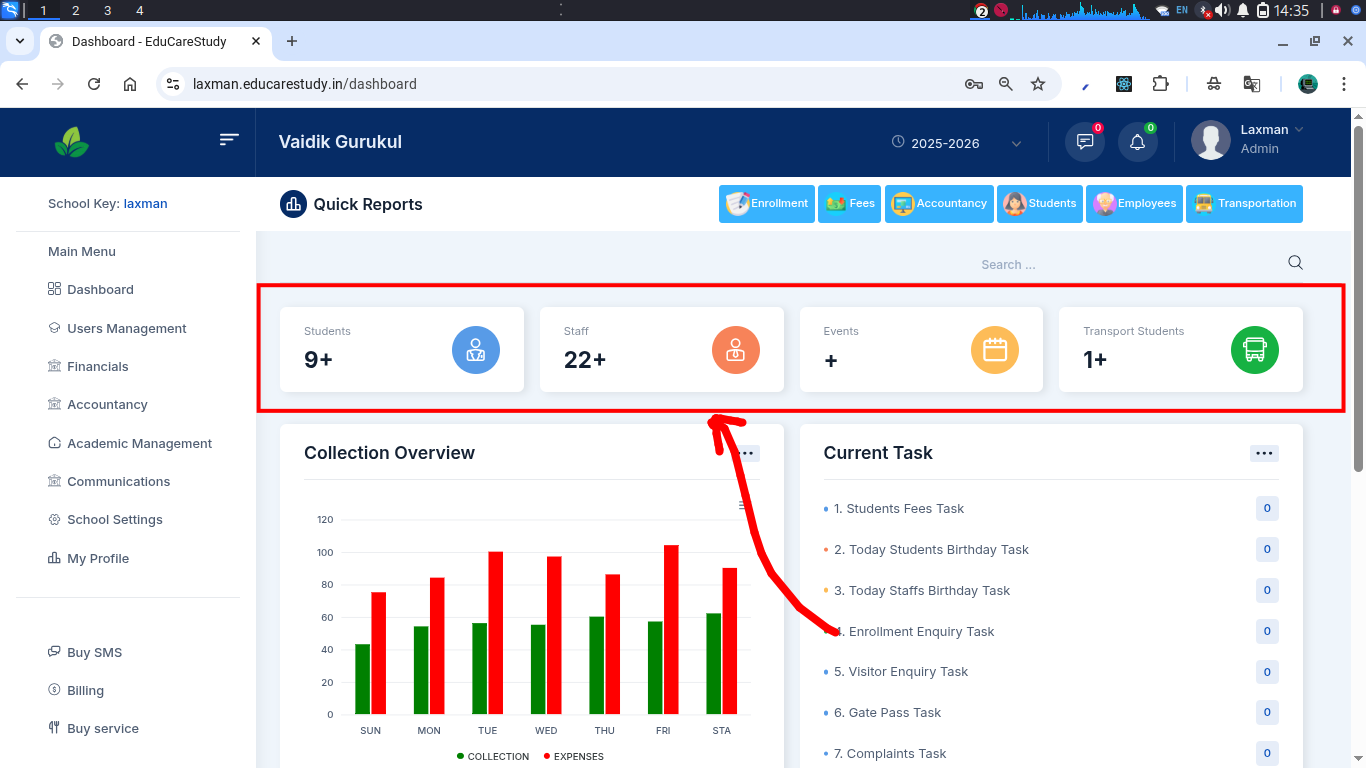
- Quick Details : This will display overall data about students, staffs, events and those students who are using transport.
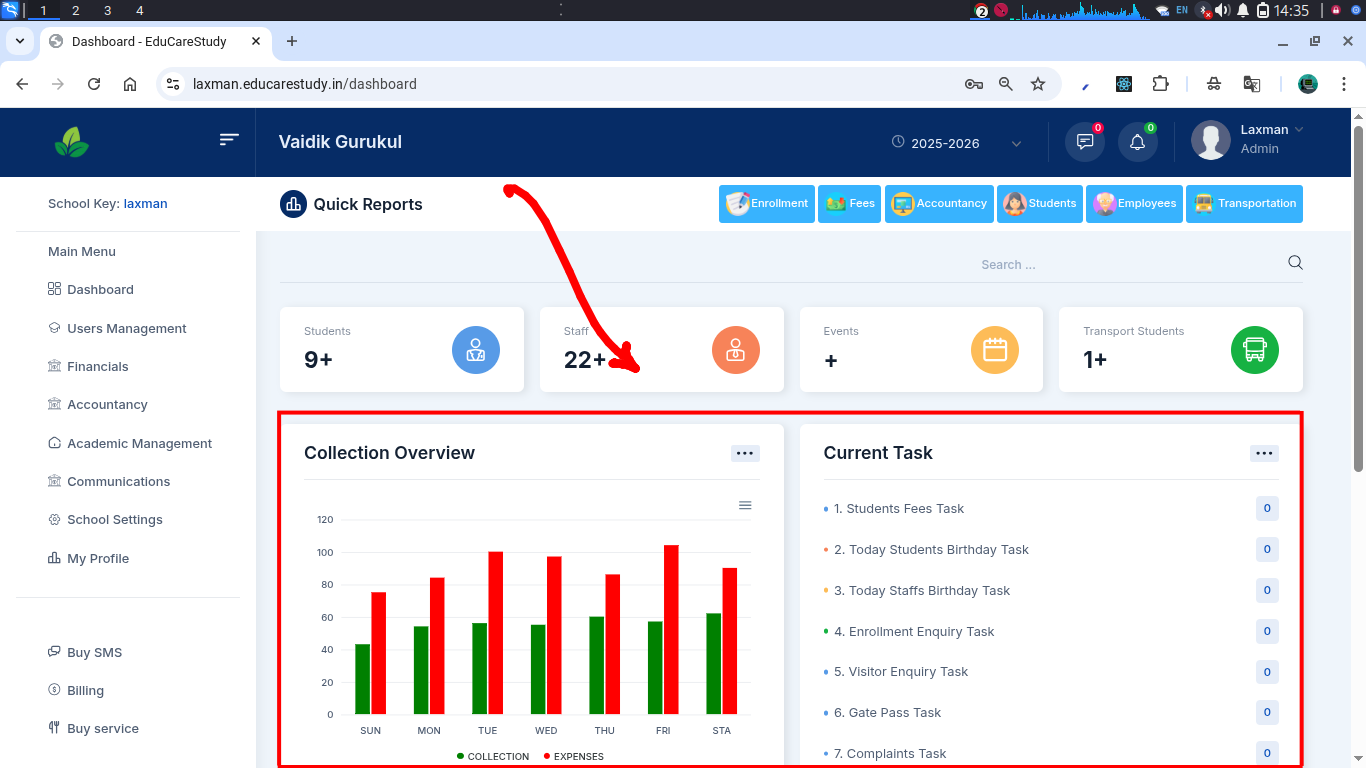
- Collections & Tasks : Here you can see your collection report and task details.
Awesome!
We have a better understanding about how all the things are structured and what does it really mean.
Now, It's time to configure the software.